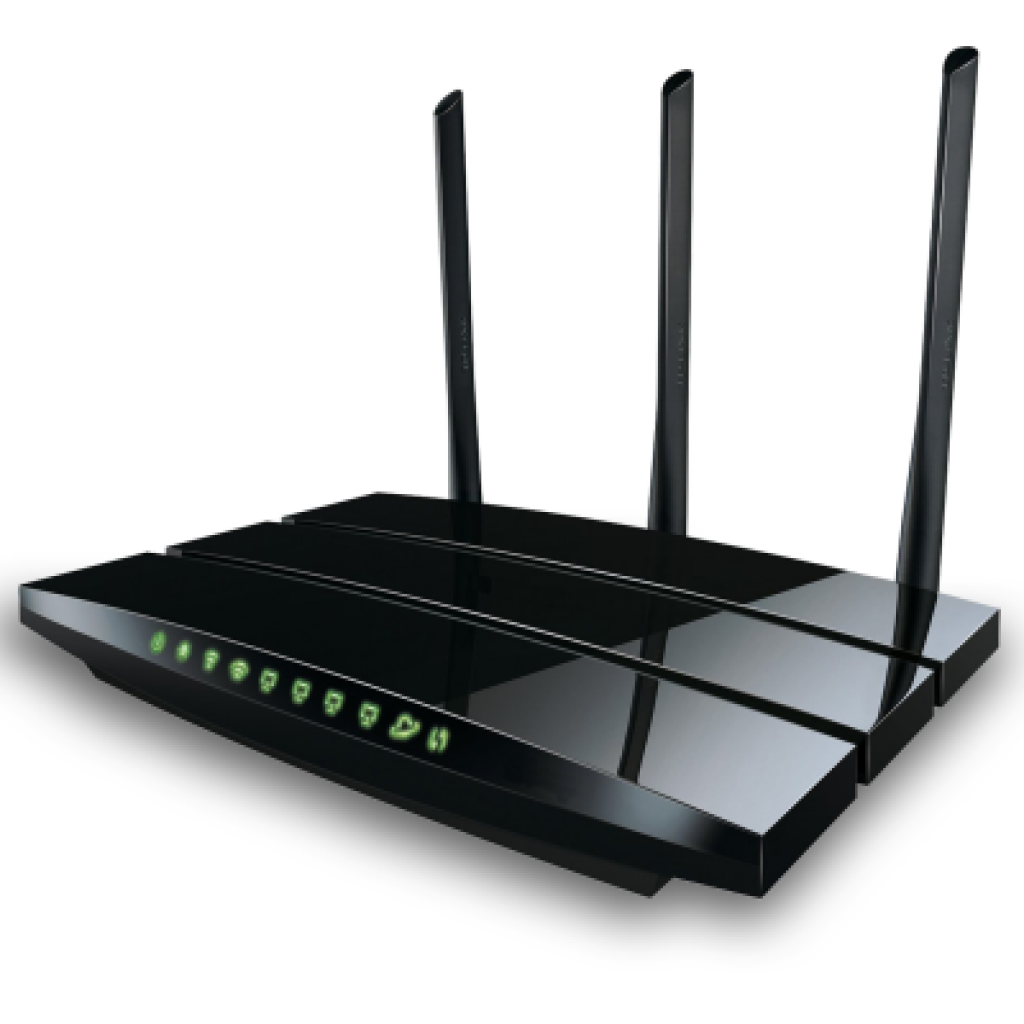
Today, we’ll be looking into CleanRouter, one of the best internet filters for ultimate parental controls. We have been receiving a lot of queries regarding how the time restriction feature works on CleanRouter so here’s an explanatory guide to get you through the process. Without holding you back on our intro, let’s get right into Clean Router time restriction feature and how it works.
1. Some Basic Features
To start with, when you first connect CleanRouter to a device, whether that is a phone, tablet, computer, fire stick, or any other sort of device, the connected device will be displayed on the Device List section. This is where you’ll also find the IP Address and the MAC Address of your connected devices.

From there, clicking the Add button will give you some additional settings, like renaming the device, toggling email report and internet on or off, etc. Additionally, you’ll also see an Exclude from filter option. Turning this ON will exclude that particular device from any filters the CleanRouter currently uses.
2. How to Add Time Restrictions
Next to it, you’ll find the Time Restrictions option. To add time restrictions with CleanRouter, click on it and then the Add restrictions button.

On the following screen, you’ll see a calendar-like interface, with the day on the left and the time at the top. To add time restrictions, simply use your mouse, click and drag from the time of day you want to restrict time from. Then, drag your mouse over to the time until when you wish to restrict time and release your mouse there.

Finally, to make the changes, just click the green Save button.
To see the explanatory video of adding time restrictions with CleanRouter, kindly watch the YouTube video below:
